Look at your last blog post.
Do you think visitors will read the entire article? They’ll give up after a few seconds if you have large blocks of text and bad formatting.
As you build your blog, you want the best ROI possible. But if a blog post is difficult to read, you can lose that investment. The best way to improve your blog’s read-through rate is by implementing formatting techniques.
Format your articles so that everyone gets the best value.
First: Identify Three Readers
Who are you writing for?
Hopefully, you already know your audience. But have you studied your readers? Not everyone consumes content the same way.
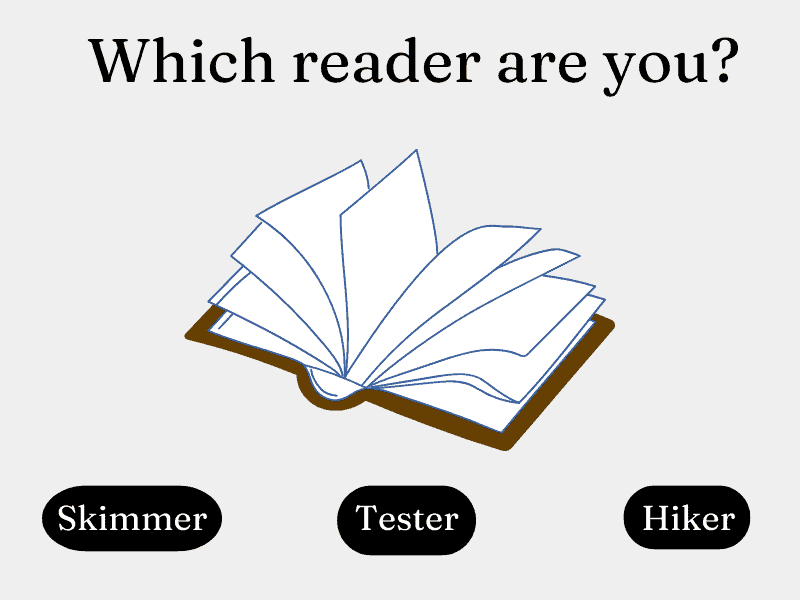
We can identify three types of online readers.

Our goal is to write for all readers in the same article. Once we identify them, we can meet their needs through simple formatting.
Skimmers: They want value fast. Your blog post should provide 80% of your core value through a quick skim. Provide the key elements through headlines, bolded words, lists, and summaries.
Testers: You have to earn their permission. They want to read your article, but they’ll lose interest if it’s boring or missing the essential. So make it obstacle-free to read.
Hikers: They want a full-immersive learning experience. The article must provide in-depth value that walks them through the page with multiple layers to sustain interest. They can easily navigate the article during their reading.
10 Blog Formatting Steps to Increase Read-Through Rate
Now that we know who we are writing for, we can implement formatting that serves our readers.
1. Add Plenty of White Space
Have you ever been excited to pick up a book?
You run to a cafe, pry the cover open, and start.
After a few seconds, your excitement turns into regret when you see a mountain of big text blocks. It doesn’t matter how good the book is; your eyes get drowsy after a few minutes, and your experience changes.
People like reading in sprints. White spaces help readers finish the whole piece.
Start by writing shorter paragraphs; for example, instead of seven sentences, break it up into two or three sections.
Make a one-sentence paragraph when you want to make an important statement.
2. Use the Right Font
It doesn’t matter how good your blog post is if someone hates reading the words. Blog font should feel neutral and pleasant to read. The best fonts aren’t noticeable.
Partnering with a good website designer makes a big difference. They can help you implement a font that serves your content and encourages readers to finish the piece.
3. Use Headlines
Humans want structure and like to make sense of what they are reading. It’s like driving on the road. You want signs and markers to know where you are going. Otherwise, you get frustrated. Headlines help walk the reader through.
Utilize your H1, H2, and H3 tags.
Tags offer clear formatting distinction. They automatically format the look and size of headers appropriately.
H1 is usually reserved for the title. H2 helps differentiate the sections or main points of your blog post, and H3 is for sub-sections like minor points or a bullet list. In some cases, you may need to use an H4 tag.
4. Add Bullet Lists
Reading is like running. We can get a great head start, but we can get tired of the mundane after a while. A change of scenery or something new helps increase longevity.
While white spaces and short paragraphs help, we need other things to break up the read.
Lists are powerful for emphasizing a set of data or crucial information clearly and concisely. It serves as a practical summary for your skimmers.
In this Shopify blog article, the author includes multiple bullet lists to condense information in a long article.
If you have a lengthy blog post, find one or two opportunities to include a list.
5. Include a FAQ or Summary at the End
Adding a section for frequently asked questions or a summary at the end is a great way to help readers recap and for skimmers to get the bulk of the information they need in one place. In addition, it’s a great reference section for people re-visiting your blog post.
Not only does a FAQ and summary help the reading experience, but it helps clarify points. For example, if you aren’t able to explain a concept because it’s not the core idea of the article, you can briefly answer it in your FAQ.
A FAQ and summary section transforms your blog post into a timeless reference.
6. Spend Time on Your Outline
Outlines are always essential. You become intentional about what you want to communicate. But it’s not just about information. You can plan out your formatting.
You have the opportunity to develop your title and headers, lists, and other vital components. Then, before anything goes on paper, you have the chance to create your blog post for the best reading experience.
7. Add a Table of Contents for Longer Posts
If your article reaches around 2,000 words or more, it’s time to consider adding a table of contents in your introduction section of the blog post. Even the best readers will have trouble navigating your page. Aim for an effortless experience without obstacles.
Create an outline that focuses on your main points.
Don’t crowd it with every header you have. A good rule of thumb is to focus on your H2s. Also, it’s better to anchor your text so that someone can click on it and go straight to the section.
HubSpot includes a table of contents as a neatly designed section in this example. Readers can click on one, and it links to the desired section.
Every reader can appreciate a table of contents. For example, a Skimmer can get your core idea in two seconds; the Tester can use it as a roadmap as they dip their toes into your content; and the Hiker can navigate the blog post, jumping back and forth as needed.
8. Use Visuals and Images
Similar to adding lists, media brightens up your content and increases readership. You can stimulate a tired reader with a great graphic, video, or bright image.
Each piece should reinforce the point you made. An excellent illustration explaining the concept works wonders if you cover a technical subject.
Video is increasingly becoming the most consumed piece of content. You can add a Youtube video summarizing each point (or the post as a whole) and place it on the page.
9. Include Alt Text
You add a new audience for your blog post when you include alternative text. It’s vital for readers with disabilities or poor internet connections that can’t load media quickly.
Add alt text for your images, videos, and other forms of media so that people can understand them without experiencing them fully. Ensure your entire webpage is accessible to as many people as possible. Reframe from using unique symbols or fonts that will alienate a reader with a disability.
10. Bold and Italicize Main Points
Another way to communicate your value is by bolding and italicizing essential points throughout the body of your work. Skimmers appreciate it because they can quickly gather key points. And other readers enjoy it because it emphasizes critical information in the article.
Bolding and italicizing encourage readers to share those words on social media, increasing your reach. Additionally, you can add quotes of essential points throughout your article, much like how you would see a magazine highlight an important statement in the same piece.
10 Blog Formatting Steps – Summary
We hope that you enjoyed reading about 10 blog formatting steps to increase your read-through rate.
If you want to maximize your blog’s potential, formatting can help you get to the next level.
Blog posts should be valuable and aim to get a maximum read-through rate. When someone finishes the article, they get all the value you offered and want to learn more about your business.
Your website design is the number one factor that determines whether you are equipped to format your best blog. Clio Websites can design and create a powerful blog experience to help you grow your company and lead your industry through effective, notable blog content. Contact Us to learn how Clio can create a winning blog for you.
TL;DR 👇
Formatting Steps for a Better Read
- Add white space
- Use neutral font
- Utilize headers
- Implement lists
- Add a FAQ or summary
- Invest in your outline
- Add a table of contents (for long posts)
- Include media and visuals
- Utilize alt text
- Bold and italicize core ideas
Further Reading
- Best Website Fonts for 2022
- Best Blog Design Ideas for Your SaaS
- 8 Business Blogging Tactics to Generate More Sales
John Paul Hernandez helps brands grow through content that engages customers and promotes them to action. You can find out more about him at www.JohnPaulHernandez.com


