
Do you want to learn how to showcase featured WordPress blog posts? Follow this guide to find out how to accomplish this.
This method is useful for websites that sell premium memberships or access to “premium content”. Implementing this feature will help you showcase premium content and encourage users to sign up.
What you will need
We will be using Elementor Pro and Advanced Custom Fields to make this work.
You can accomplish this using other methods and plugins as well, but since we are already using this stack for this particular project, this was the easiest way to accomplish this goal.
Showcasing WordPress Posts Steps
In order to make this work, we will configure an ACF field to capture the text we will use to highlight a featured blog post.
After that, we will enable this setting in Elementor Pro using a featured image caption feature.
Lastly, we will style it and make it look cool.
Step 1 – Configuring the field in ACF
Create a new Custom Field group and call it Post Feature.
Add a new Text field, you can call it Featured Content.
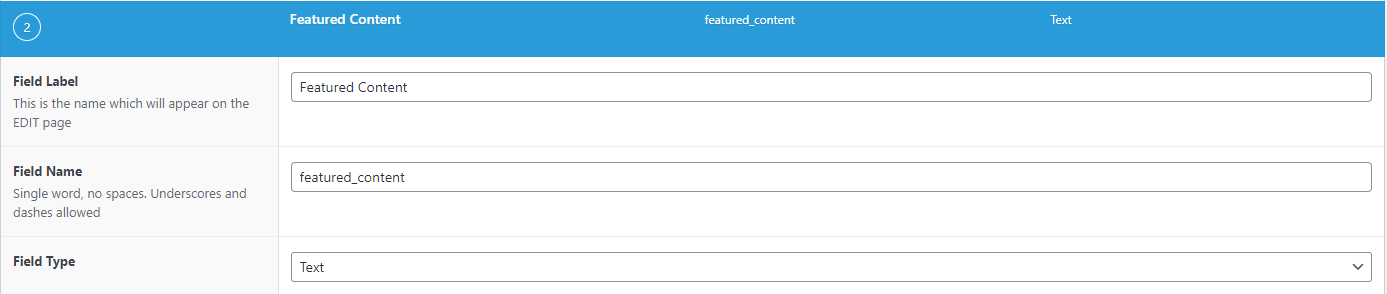
Enable this field group on the Posts object, by setting the Post Type equal to Posts.

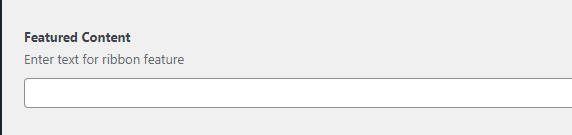
You have now created a new custom field that you can use in your posts to highlight the premium content you want to showcase.
We can confirm that the new field shows up in the edit Post settings:
Step 2 – Configuring Elementor
We will be editing the Elementor Post Loop object which can be configured to display a blogroll on an Elementor WordPress website.
Because our new custom field is empty, nothing will show up on the post featured image on the front end:

We will edit the post loop by opening it in the Elementor editor.
Create the post loop Elementor object by adding a featured image and any other fields you want to show up in this post loop.
Click on the Featured Image object to open additional settings.
Enable the Custom Caption option, and select the ACF Field custom caption type.
Select the custom field you created in the previous step (Featured Content in our case) by clicking on the ACF Field box which opens an additional menu.
When you are finished, your options should look like the following screenshot:

Now, when you add text to your custom field, it will show up on the bottom of the featured image.
Step 3 – Style the new Custom Caption using CSS
The last step is to style the Custom Caption using CSS.
This will depend on what look and feel you are looking for, but there are a ton of free CSS ribbon tutorials that you can find online and implement.
Since we want this style to apply globally on any archive page on the website, we will add the code to the Customize screen of the theme, in the Additional CSS section.
For example, we applied this CSS to style the Custom Caption:
.widget-image-caption {
	display: inline;
	padding: 5px 0 10px 0;
	position: absolute;
	content: '';
	right: 10px;
	top: 0px;
	clip-path: polygon(0% 0%, 100% 0%, 100% 75%, 100% 75%, 50% 100%, 0 75%, 0% 75%);
}
Step 4 – Finishing up and testing
Once you implement and save your changes, enter in the custom featured text you want to show up on your featured image.
For example, this is what it looks like with our styling:

About Clio Websites
Hope you enjoyed reading our how-to guide on how to showcase featured WordPress blog posts.
Clio websites is a Calgary-based web development agency that specializes in WordPress. Contact us to start your next WordPress project.
Do you know of a better way to implement this or have any questions? Comment below.


2 Responses
Great guide! Thanks for sharing.
Thanks Abdul, glad you liked it!